Step-by-step tips for injectable fertility medication
If you are going through an IUI cycle, IVF cycle, taking gonadotropin medication or preparing for an egg retrieval for social egg freezing or oncofertility, you may be placed on injectable fertility medication to stimulate egg production in your ovaries. Shots are taken daily for 8-12 days, depending on the medication prescribed.
Let’s be honest – most women are less than thrilled at the thought of giving themselves a shot. We have worked with thousands of women who have felt this way and in our experience, most women are pleasantly surprised by how easy they are and how little they feel. Truly, the anticipation is much scarier than the reality. After a few tries, you will feel like a pro (we promise!)
Your nurse will show you how to do each of these steps and make sure you are feeling comfortable and ready for this part of treatment. This blog aims to be an additional resource as you prepare yourself or your partner to do the injections.
Subcutaneous injections land just underneath the skin into the fatty tissue sitting above the muscle. Common medications you may be prescribed are Follistim, Lupron, Ovidrel, Menopur, and Gonal-F.
[basic_content_block layout=”0″ cta_title_hide=”true” attachment=”11228″ /]
[basic_content_block layout=”0″ cta_title_hide=”true” attachment=”11229″ /]
To prepare, thoroughly wash your hands to prevent infection and line up everything you will need on a clean, dry, clutter-free space. This includes alcohol swabs, gauze, medication vials and any other necessary components such as needles or syringes. Medication must be at room temperature prior to injecting, so if your medication is in the refrigerator, take it out 30 minutes prior.
How to give yourself a subcutaneous injection: Step by step
Step 1: Medication preparation
Follow the directions provided by the pharmacy on how to properly mix, draw up, or dial the medication pen to the appropriate dose.
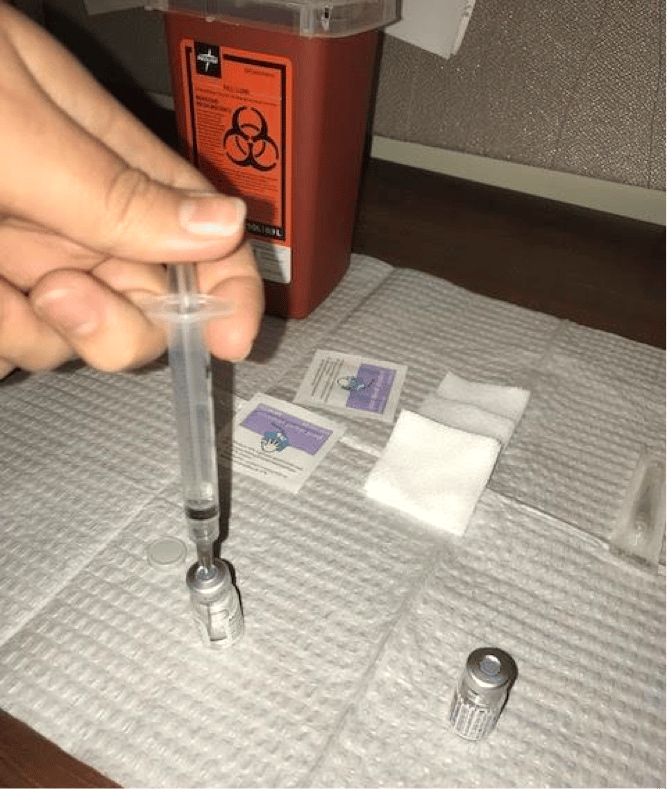
Step 2: Draw the dosage
Place the needle into the medication vial and draw the prescribed amount into the syringe. (This step may not be required if syringes are pre-filled.)
Step 3: Place needle and remove cap
Place the needle for injection on the syringe, then remove the cap cover from the needle. (This step may not be required if needles are pre-attached.)
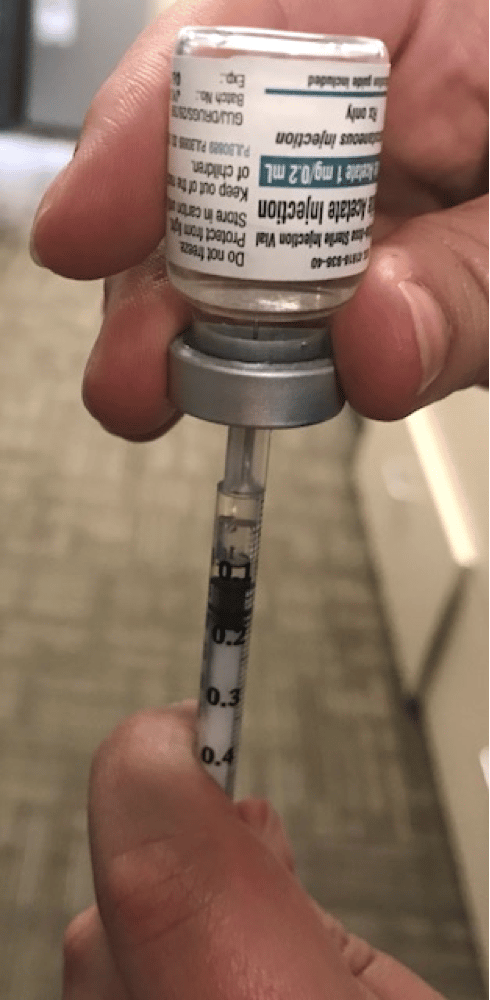
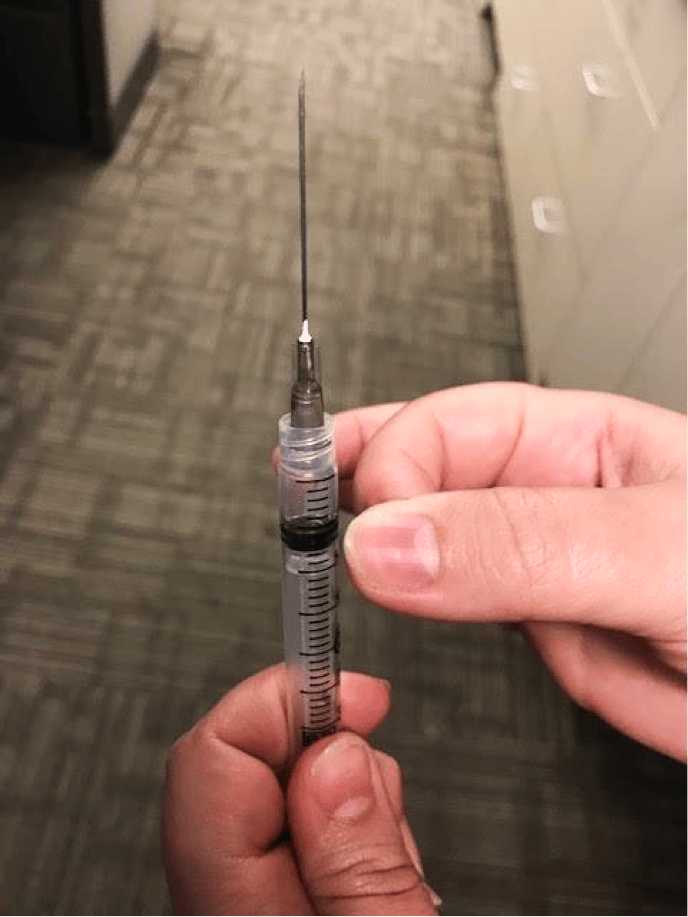
Step 4: Clear Air Bubbles
Hold the syringe upright with the needlepoint facing up and gently tap the side of the syringe with your finger to move air bubbles to the top. A few bubbles may remain in the medication (that’s okay) but most should move towards the needle. Press carefully on the syringe to remove air bubbles and stop when a small drop of medication appears at the needle tip. Place a cap back on the medication to keep the needle clean until you are ready for the injection.
Step 5: Choose your injection site
It is most effective to go where there is fatty tissue and less sensitivity – we recommend the stomach (around or just below the belly button but more than one inch from the belly button) or the top of the thighs. Never inject the same spot more than once to prevent skin irritation. Avoid all areas with a scar or bump on the skin.
Step 6: Cleanse the area
Using an alcohol swab, wipe the injection area clean using a circular motion and let dry. Blowing on the site or waving your hand can reintroduce germs, so let the area dry naturally. If you inject before the skin is dry, you will feel a small sting during the injection.
Note: If you choose to numb the skin with an ice cube, be sure to numb the skin first and wipe with alcohol after. We recommend trying without ice first, you’ll likely find it’s not necessary.
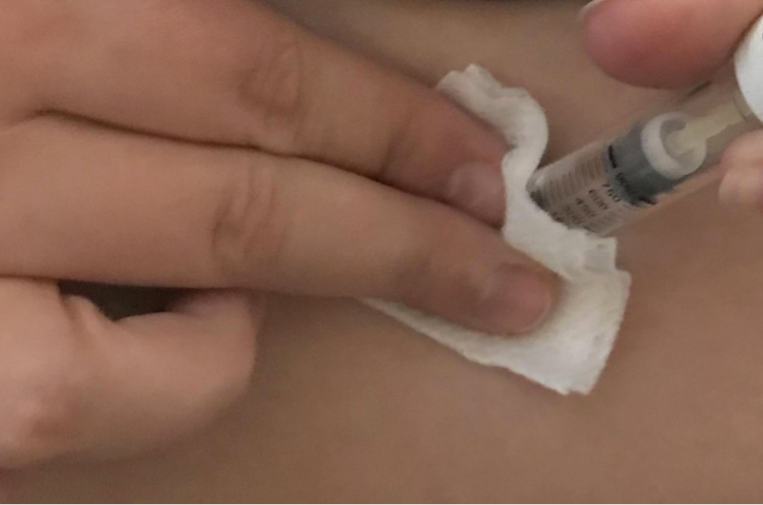
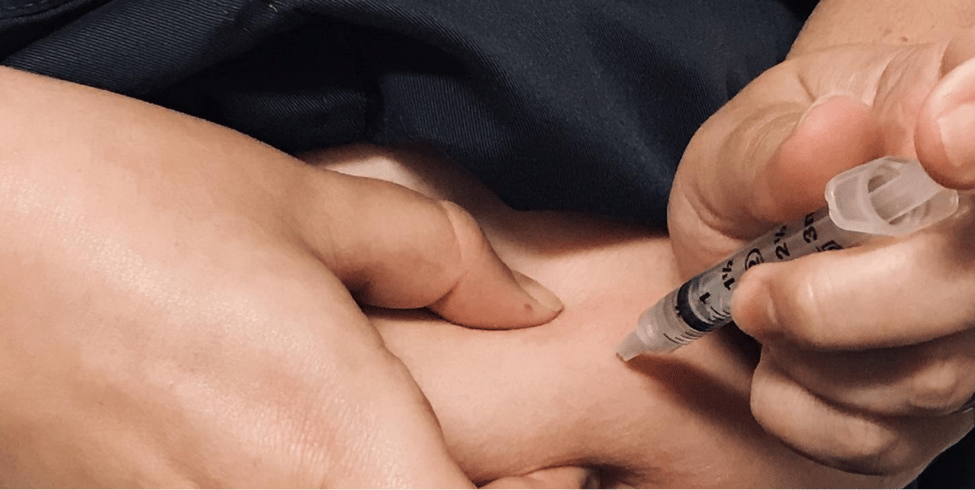
Step 7: Administer injection
Remove the cap from the needle, then pinch an inch worth of skin to move the fatty tissue away from the muscle. With your other hand, hold the syringe like a pencil and quickly push the needle through the skin at an upward 90-degree angle. Let go of the skin once the full length of the needle is in. Pull back slightly on the plunger and if blood appears, withdraw the needle and start the process over using a new needle and cleansing a new injection site. If there is no blood, depress the syringe until all medication is administered.
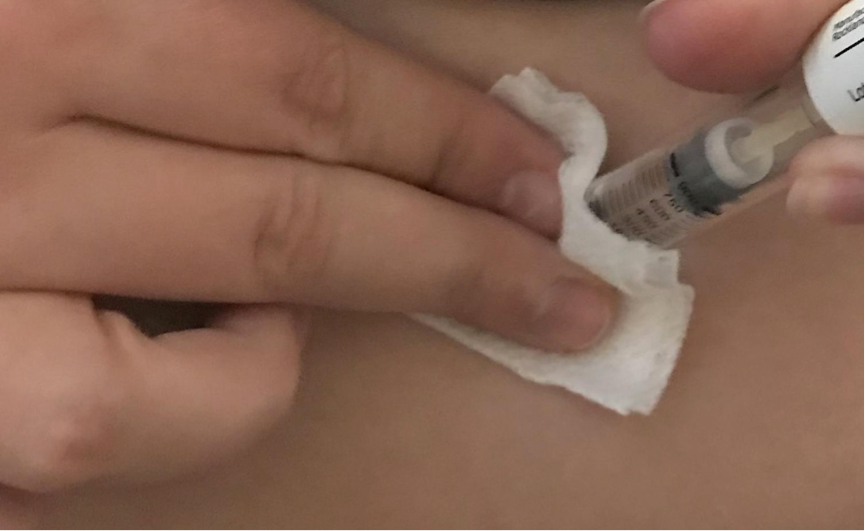
Step 8: Remove the needle
You can simply remove the needle when done, or you can place gauze against your skin next to the needle before pulling it out to prevent discomfort from the skin being pulled. Choose whatever method you prefer. It is uncommon for an injection site to bleed unless a blood vessel is nicked. If this happens, apply pressure for 15 seconds. A little bruising and redness are common. The best way to heal is to choose a different injection site each time.
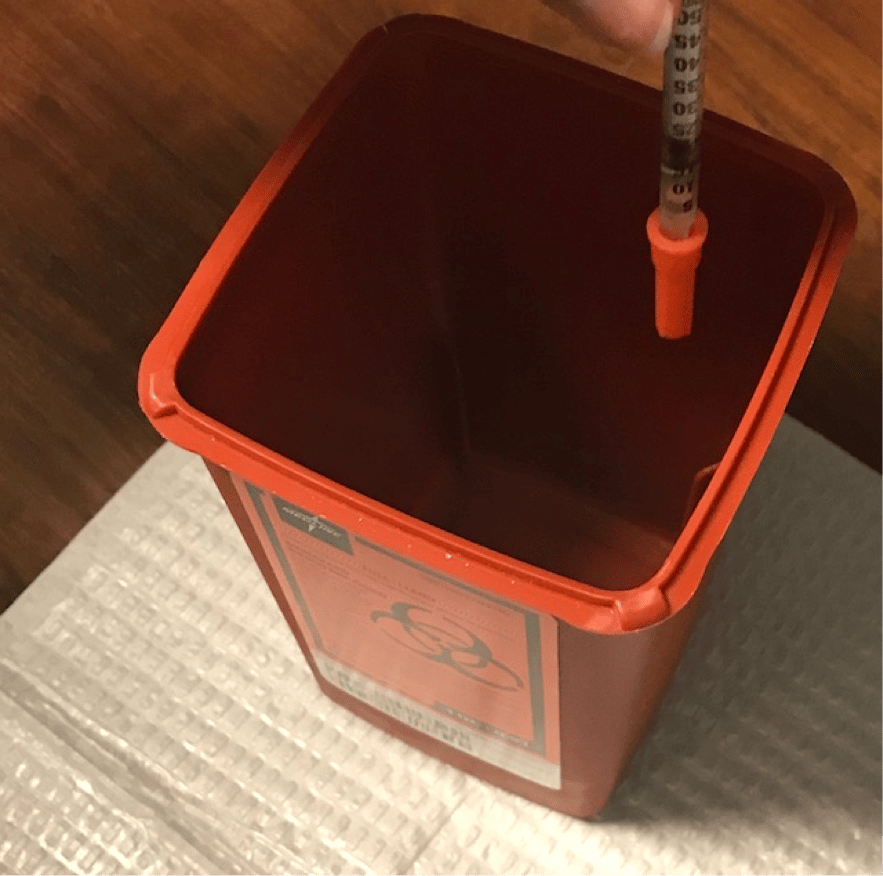
Step 9: Needle disposal
Place the needle or syringe in a needle container or a safe container such as a glass jar. You can bring used needles to our offices for safe disposal as well.
Medication Storage
Store medication as instructed by the pharmacy.
Elizabeth Bail, Registered Nurse with Fertility Centers of Illinois